
Installing Plesk for Linux Using Installer GUI
Page 1 of 1

Installing Plesk for Linux Using Installer GUI
![]() by jamied_uk 14th November 2022, 14:00
by jamied_uk 14th November 2022, 14:00
Installing Plesk for Linux Using Installer GUI
[list=arabic][*]Obtain the installer script
Download the installer script:
# wget https://autoinstall.plesk.com/plesk-installer
Enable execution mode for the downloaded installer script:
# chmod +x ./plesk-installer
[*](Optional) During installation, Plesk configures firewalld, at which time runtime firewalld rules are lost. To preserve the currently configured firewalld runtime rules, execute the following command:
# env PLESK_INSTALLER_SKIP_FIREWALLD=1
However, in this case, you must manually open the ports required for Plesk to operate. You can do it via firewalld or the Plesk Firewall extension.
[*]Make sure port 8447 is open
Port 8447 is used for accessing the installer GUI. Make sure, this port is open.
[*]Launch the installer with GUI
Run the script with option
# ./plesk-installer --web-interface
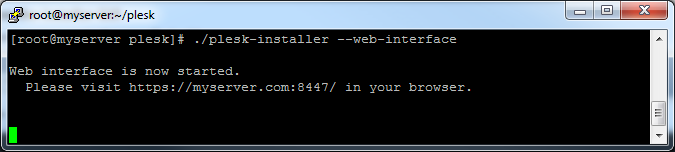
[*]Access the installer GUI
In your browser, go to the specified address:
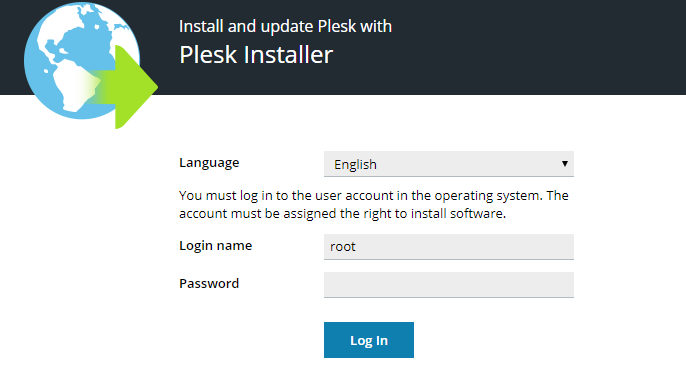
Use the ‘root’ user name and password.
Login name: root
Password:
[*]Choose to install a new product
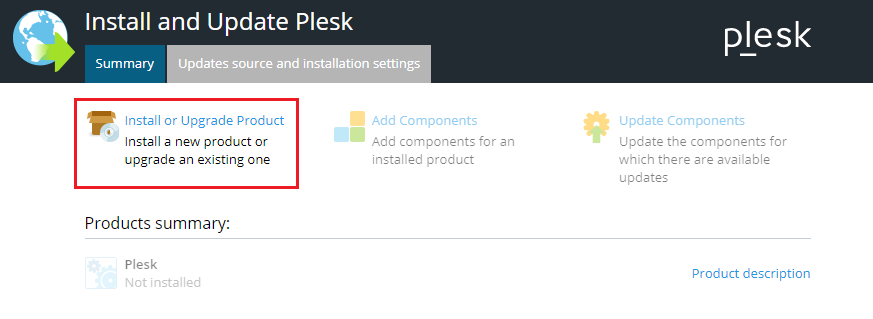
Click Install or Upgrade Product.
[*]Select product version
You will see the latest stable version of Plesk available for installing.
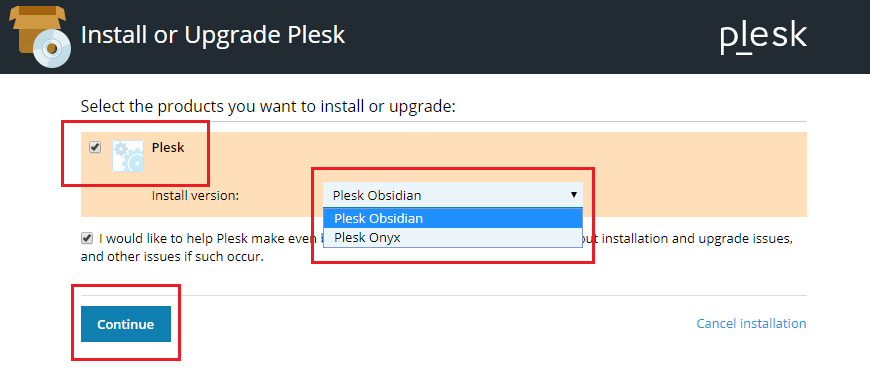
If you run the installer script with option
# ./plesk-installer --web-interface --all-versions

Click Continue.
[*]Select packages to be installed with Plesk

Select one of the available installation types. This will determine what packages will be installed with Plesk. Then click Continue to start the installation.
Alternatively, you can personally select what packages will be installed. To do that, enable Preview components selection and then click Continue.
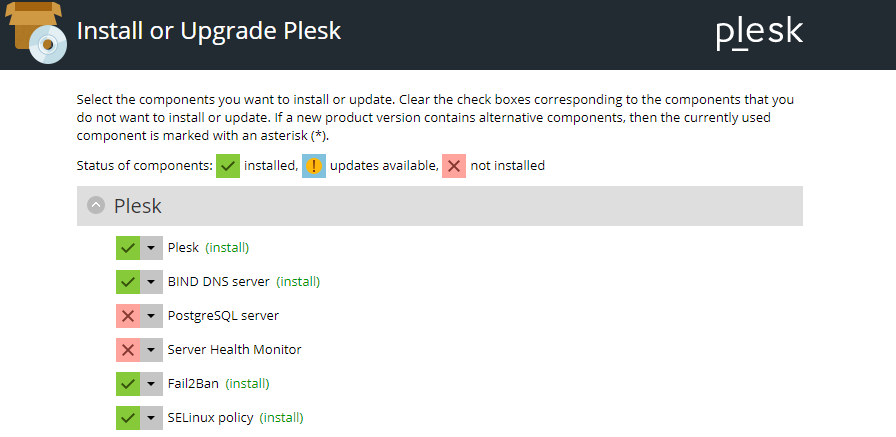
Review and edit the list of packages for installing.
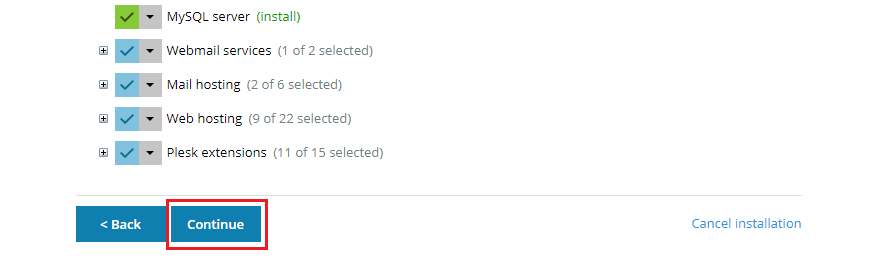
Click Continue. The installation process will begin.
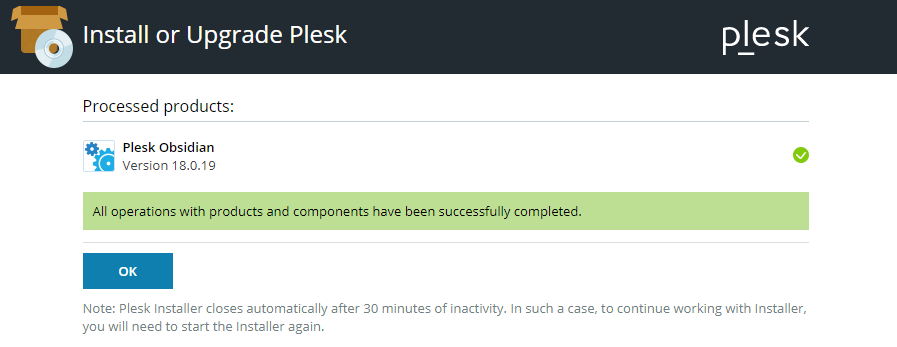
[*]Installing
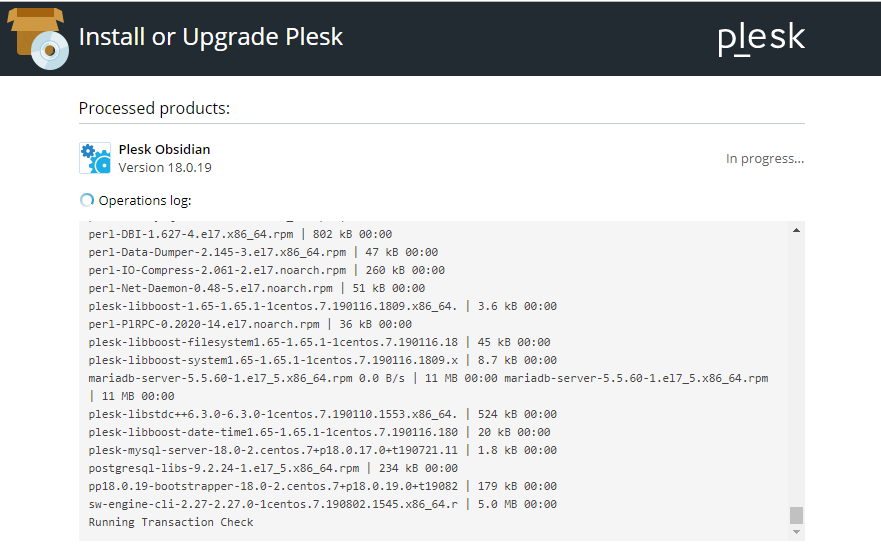
You will be able to see the console output directly in the installer web interface. When everything is installed, you will be informed.
[/list]
Besides installing Plesk, the installer web interface can also be used to add, remove and update components in the same manner.
To learn more about the installation script, run:
#./plesk-installer --help
[list=arabic][*]Obtain the installer script
Download the installer script:
# wget https://autoinstall.plesk.com/plesk-installer
Enable execution mode for the downloaded installer script:
# chmod +x ./plesk-installer
[*](Optional) During installation, Plesk configures firewalld, at which time runtime firewalld rules are lost. To preserve the currently configured firewalld runtime rules, execute the following command:
# env PLESK_INSTALLER_SKIP_FIREWALLD=1
However, in this case, you must manually open the ports required for Plesk to operate. You can do it via firewalld or the Plesk Firewall extension.
[*]Make sure port 8447 is open
Port 8447 is used for accessing the installer GUI. Make sure, this port is open.
[*]Launch the installer with GUI
Run the script with option
- Code:
--web-interface
# ./plesk-installer --web-interface
[*]Access the installer GUI
In your browser, go to the specified address:
Use the ‘root’ user name and password.
Login name: root
Password:
[*]Choose to install a new product
Click Install or Upgrade Product.
[*]Select product version
You will see the latest stable version of Plesk available for installing.
If you run the installer script with option
- Code:
--all-versions
# ./plesk-installer --web-interface --all-versions
Click Continue.
[*]Select packages to be installed with Plesk
Select one of the available installation types. This will determine what packages will be installed with Plesk. Then click Continue to start the installation.
Alternatively, you can personally select what packages will be installed. To do that, enable Preview components selection and then click Continue.
Review and edit the list of packages for installing.
Click Continue. The installation process will begin.
[*]Installing
You will be able to see the console output directly in the installer web interface. When everything is installed, you will be informed.
[/list]
Besides installing Plesk, the installer web interface can also be used to add, remove and update components in the same manner.
To learn more about the installation script, run:
#./plesk-installer --help

jamied_uk- Admin
- Posts : 2965
Join date : 2010-05-09
Age : 41
Location : UK -

» Installing GIT For Linux
» Installing Pydf For Linux
» Installing Freetux TV On Linux
» Installing Terminator For Linux
» installing doom3 in linux
» Installing Pydf For Linux
» Installing Freetux TV On Linux
» Installing Terminator For Linux
» installing doom3 in linux
Page 1 of 1
Permissions in this forum:
You cannot reply to topics in this forum|
|
|